The idea behind shadow boards
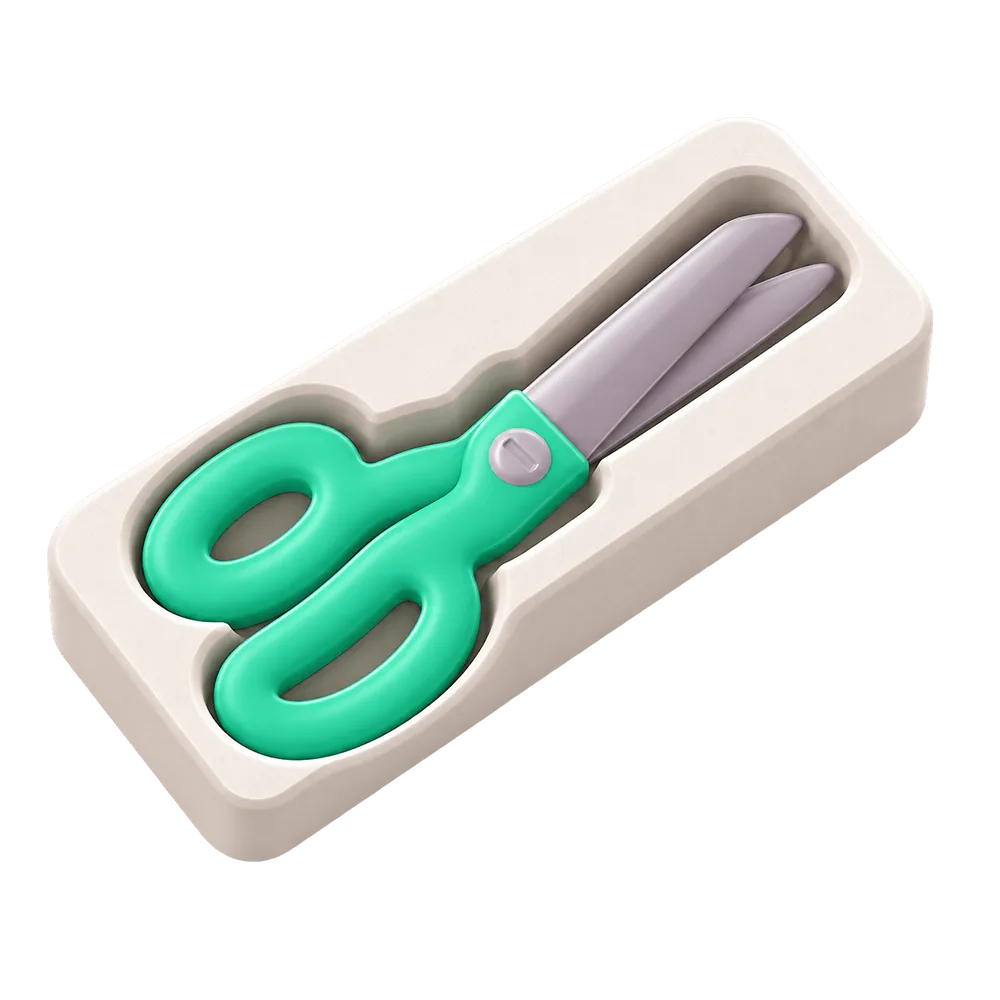
Shadow boards come from lean manufacturing and the 5S method: set in order, so every tool has one marked home. Traditionally that meant painting outlines on a pegboard or cutting tool-shaped holes in layered foam. When a tool is out, its “shadow” is the first thing you see. The idea works just as well in a home garage, a maker space or a classroom where tools are shared.
Why 3D-print one
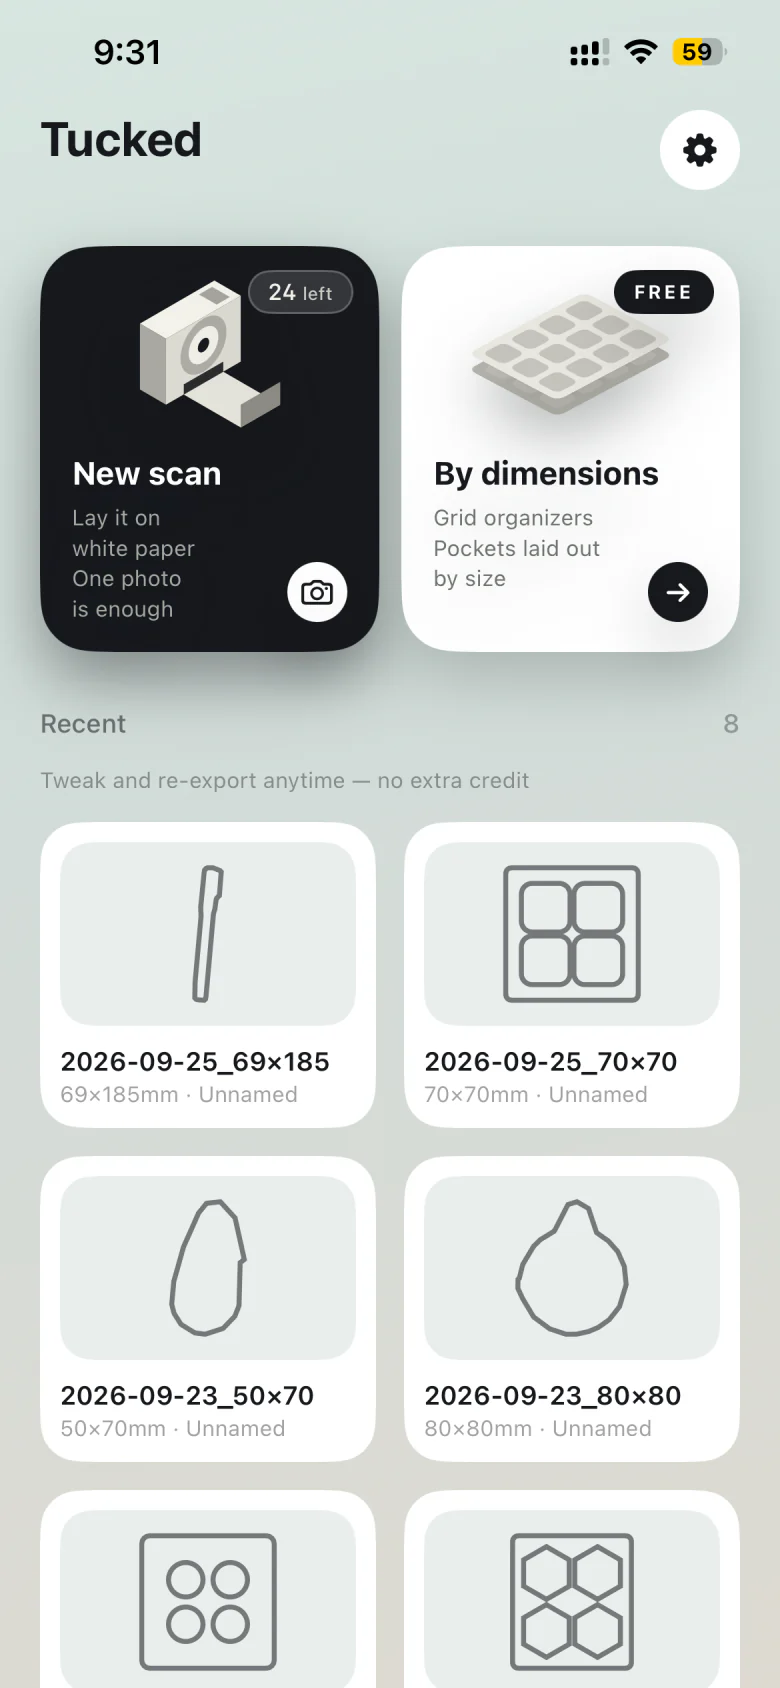
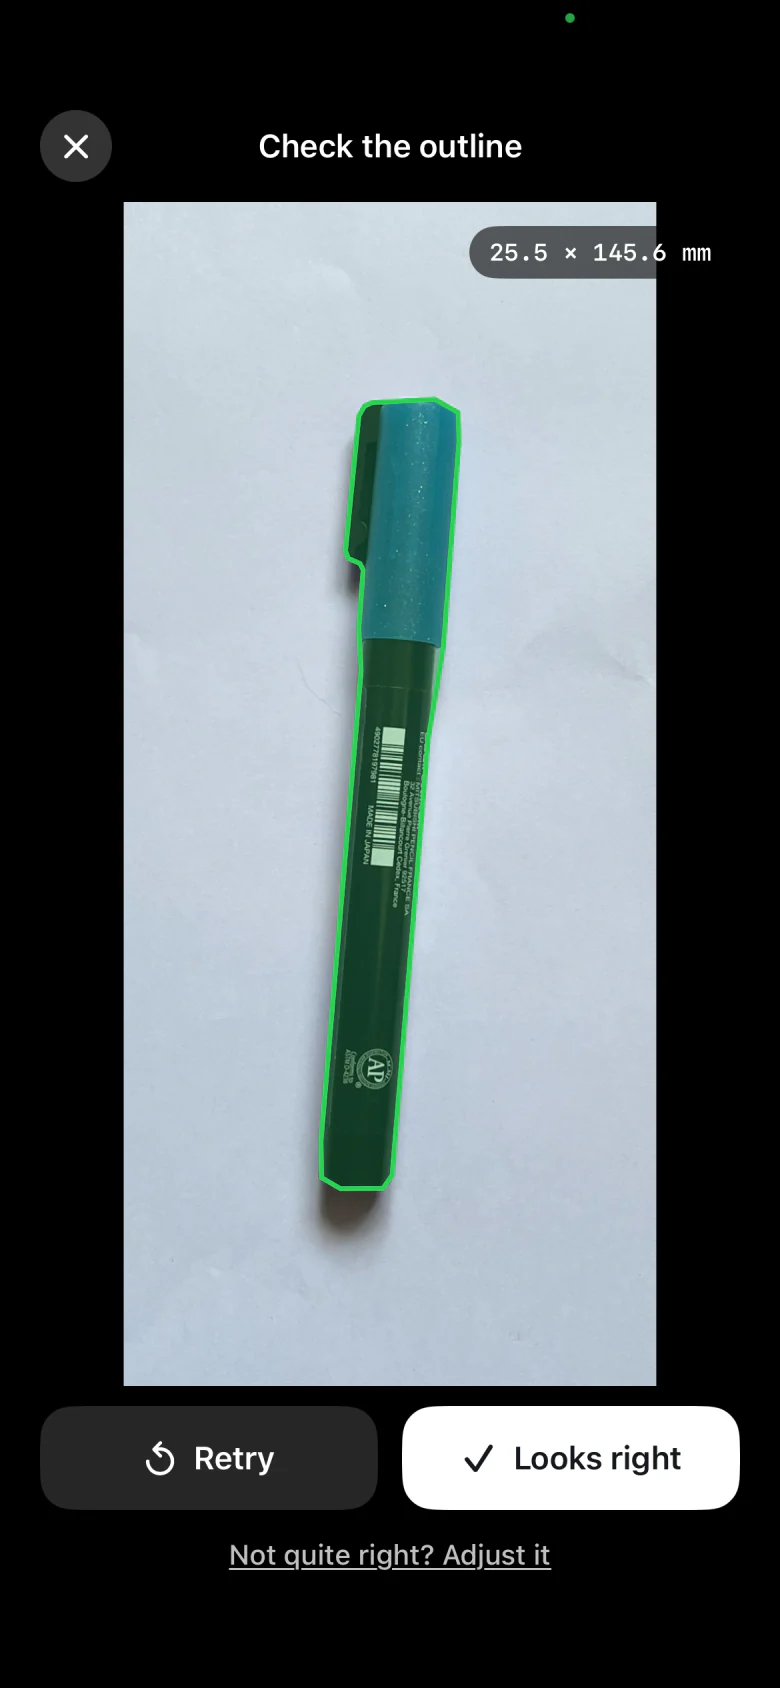
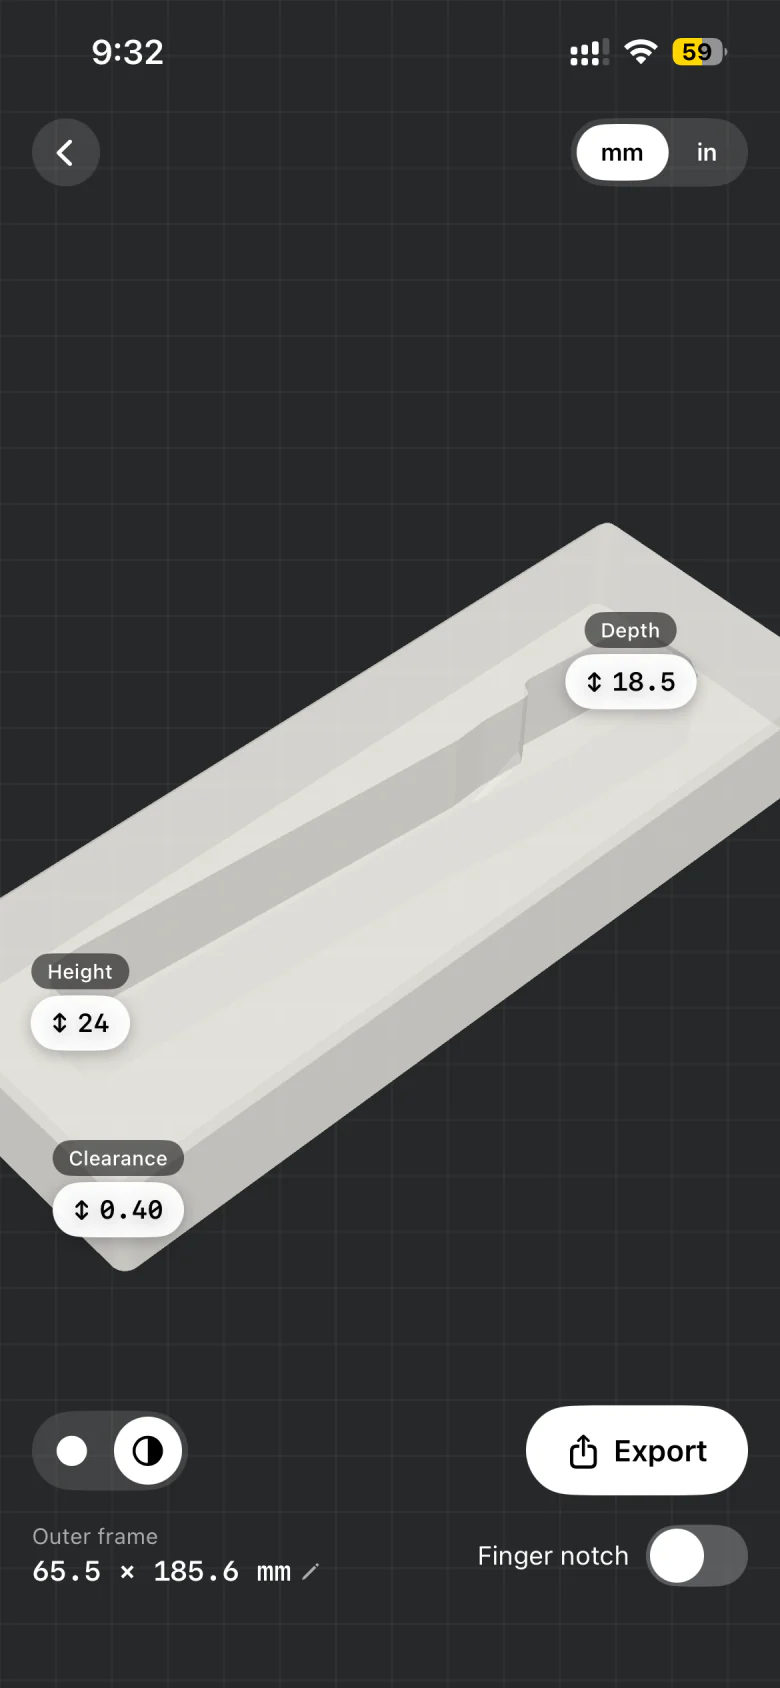
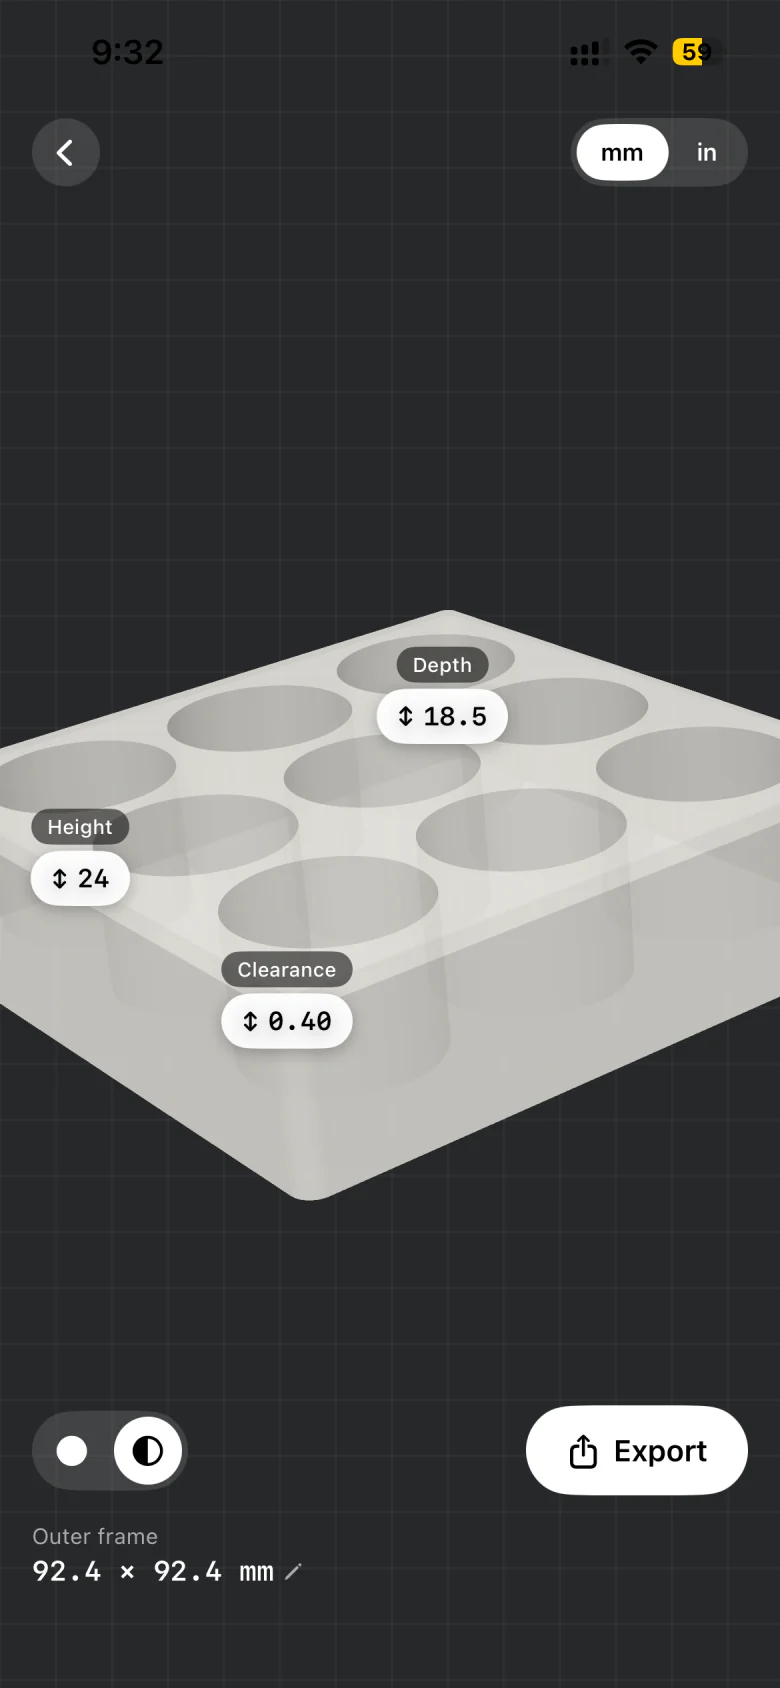
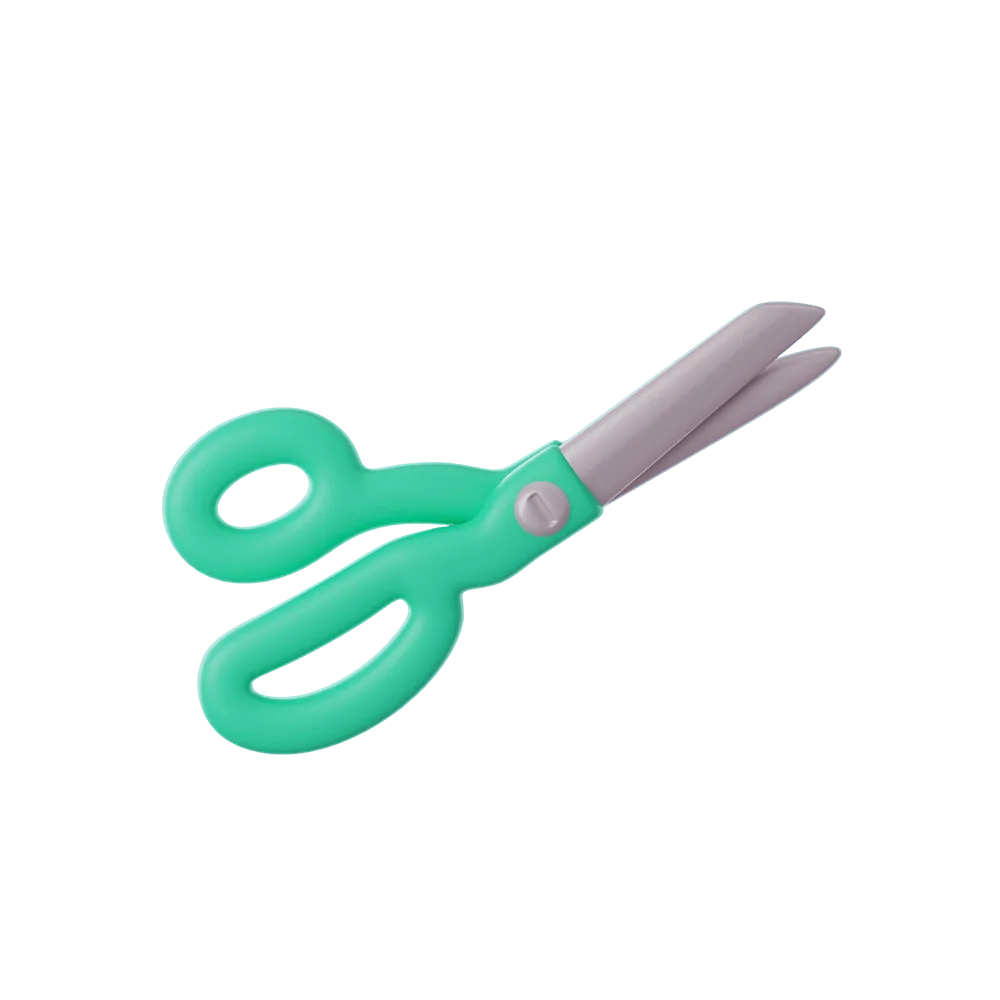
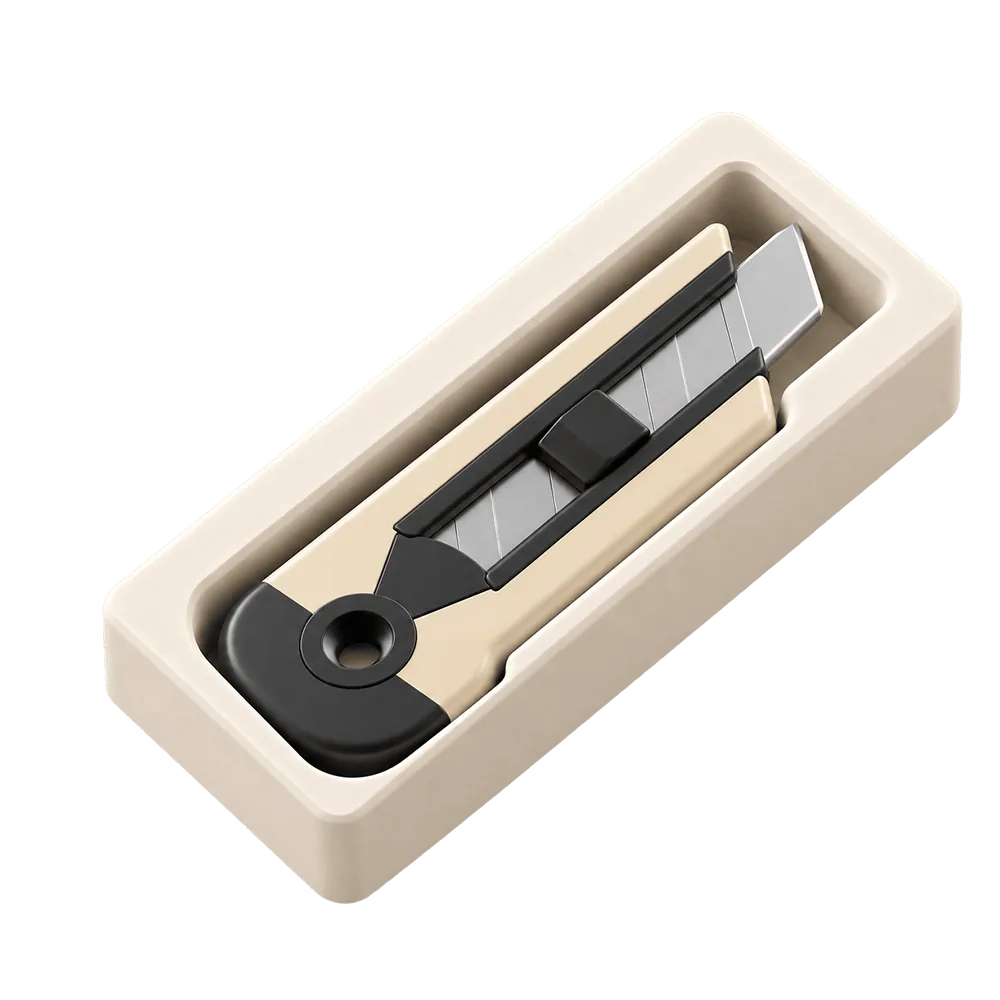
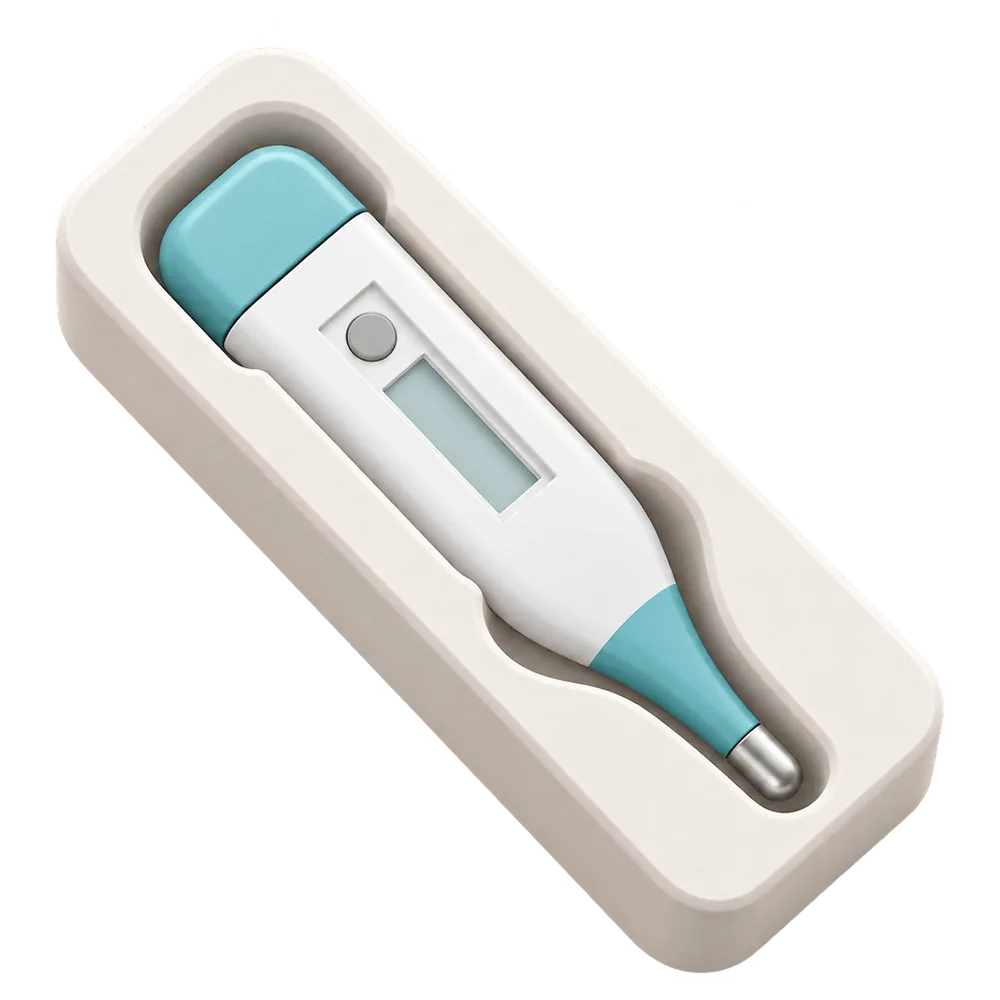
Hand-cut foam takes an evening and rarely fits snugly. A printed pocket follows the tool’s outline exactly, with clearance you choose, so tools click into place and don’t fall out. A heavy wrench can sit snug while a screwdriver lifts out easily. Tucked traces each tool from a single top-down photo on A4 or Letter paper, then builds a tile around it that you export as STL.
Tiles beat one big board
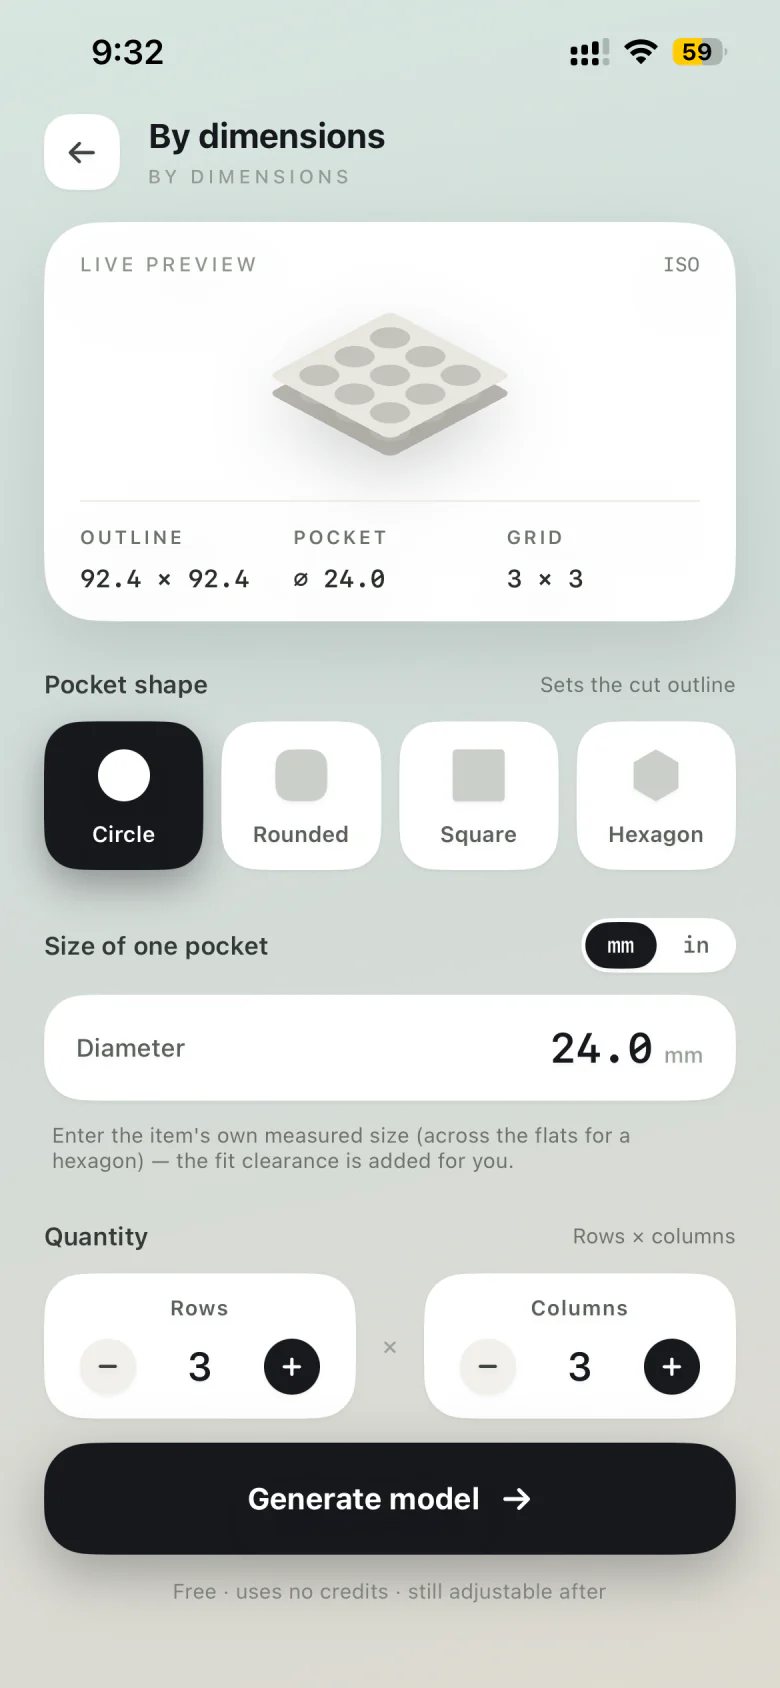
Instead of one giant panel, print one tile per tool. Tiles fit on any build plate, you can add a tile when you buy a new tool, and rearranging the wall means moving a few screws. The same tiles work flat in a toolbox drawer — see the drawer organizer guide.
Getting the contrast
Most slicers let you insert a pause or colour change at a given layer. Print the base in a bright colour and switch to a dark filament at the height of the pocket floor. That height is the tile height minus the pocket depth. The result reads like a classic shadow board, with no paint.