Drawer organizer

A drawer organizer shaped like what’s inside.

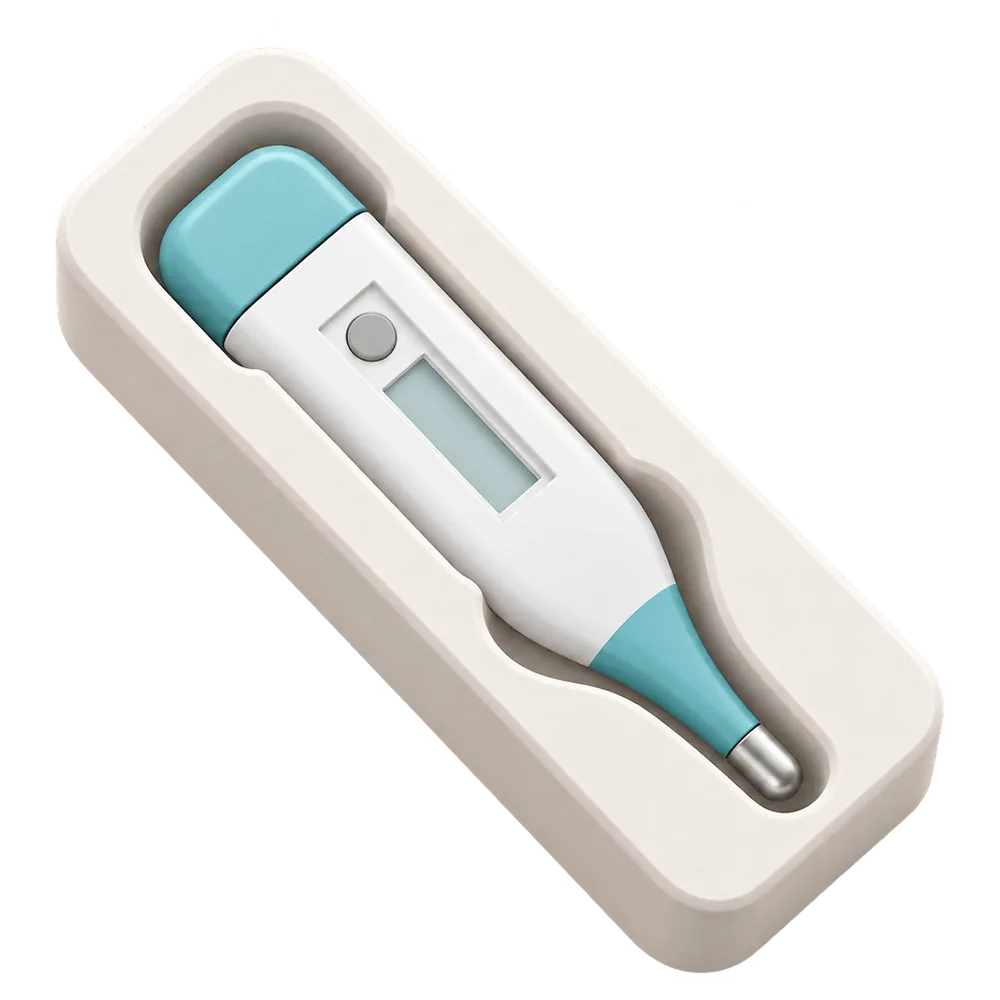
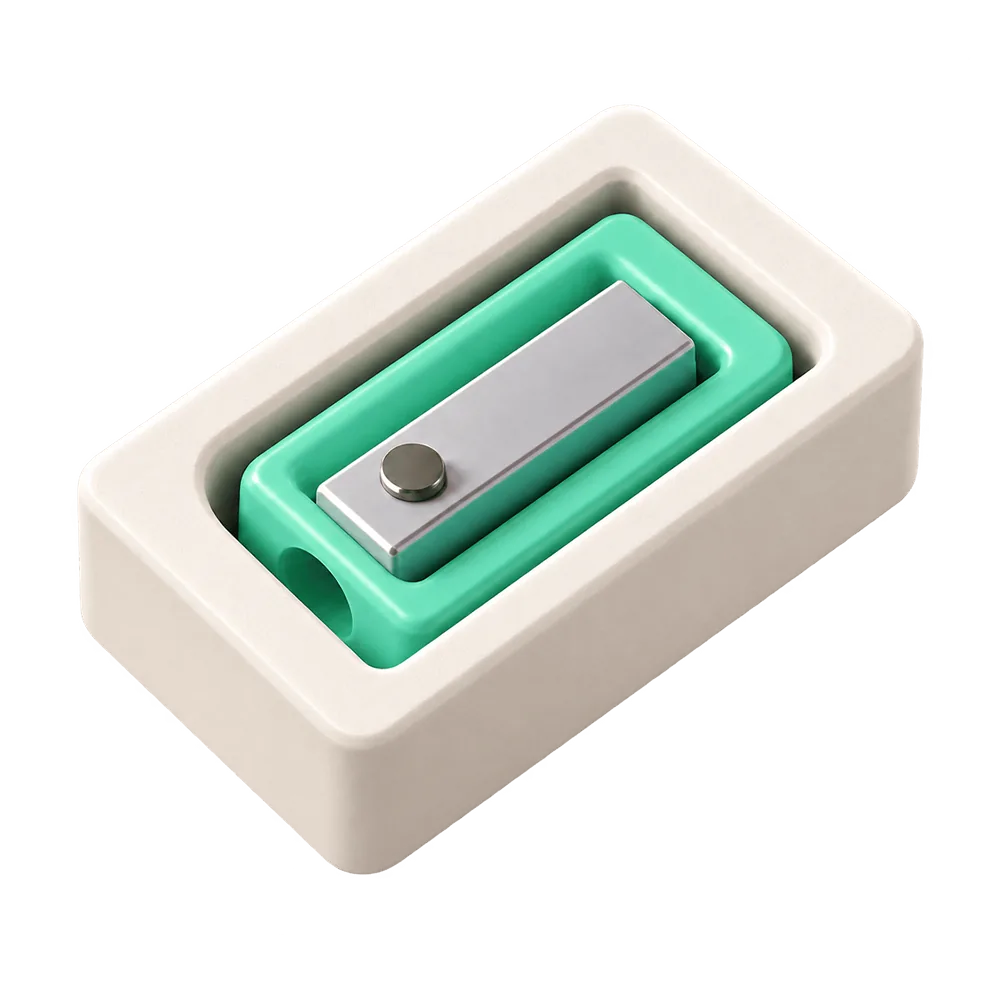
Photograph each thing that lives in the drawer. Tucked makes a tray cut to its outline and sized to tile your drawer — export the STLs and print.

Download on theApp Store

Free download · iPhone · iOS 17 or later

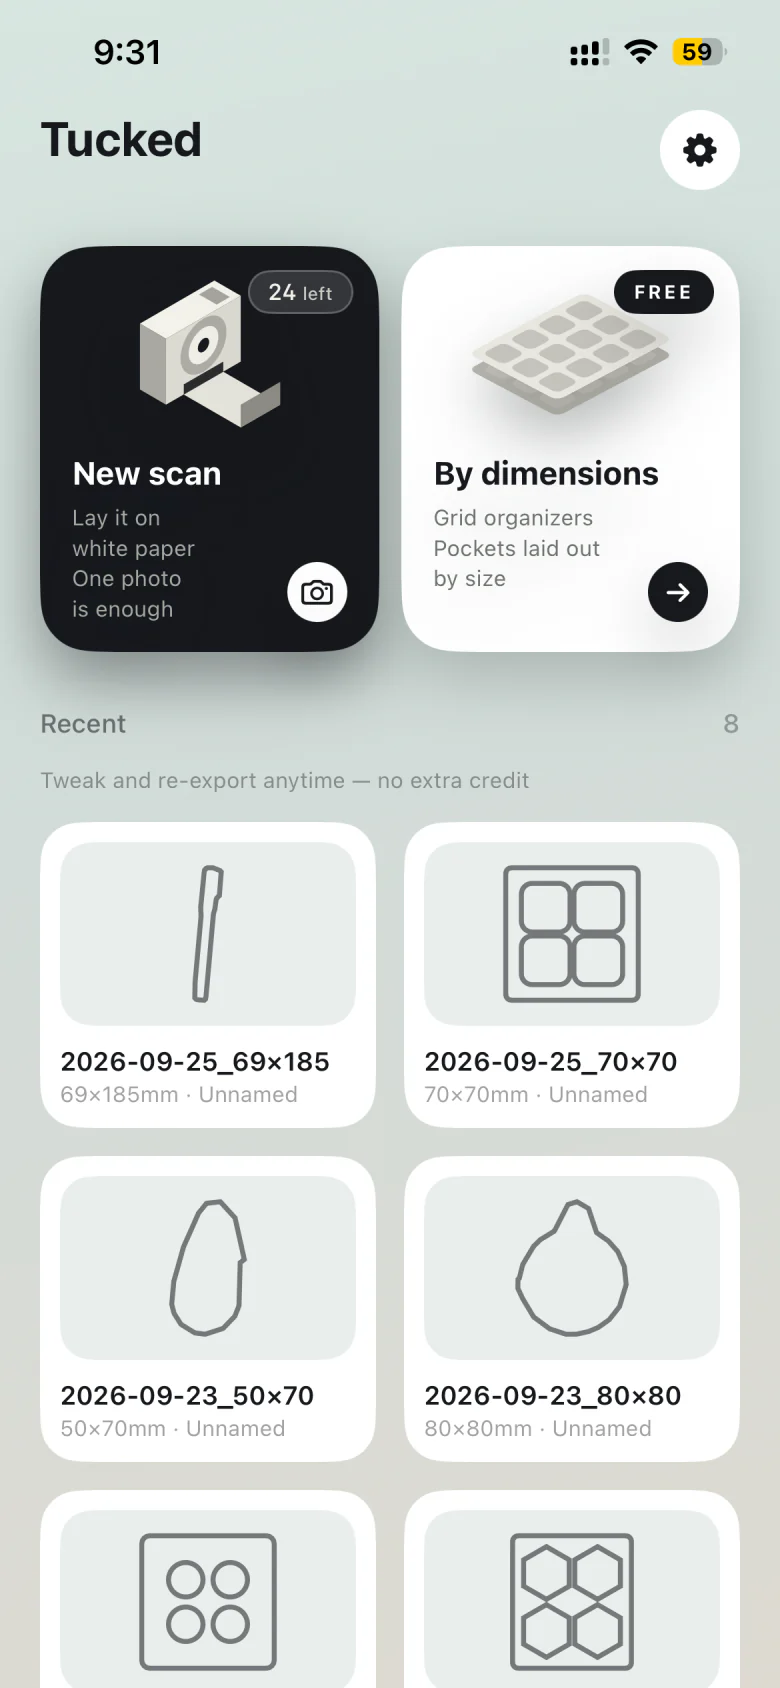
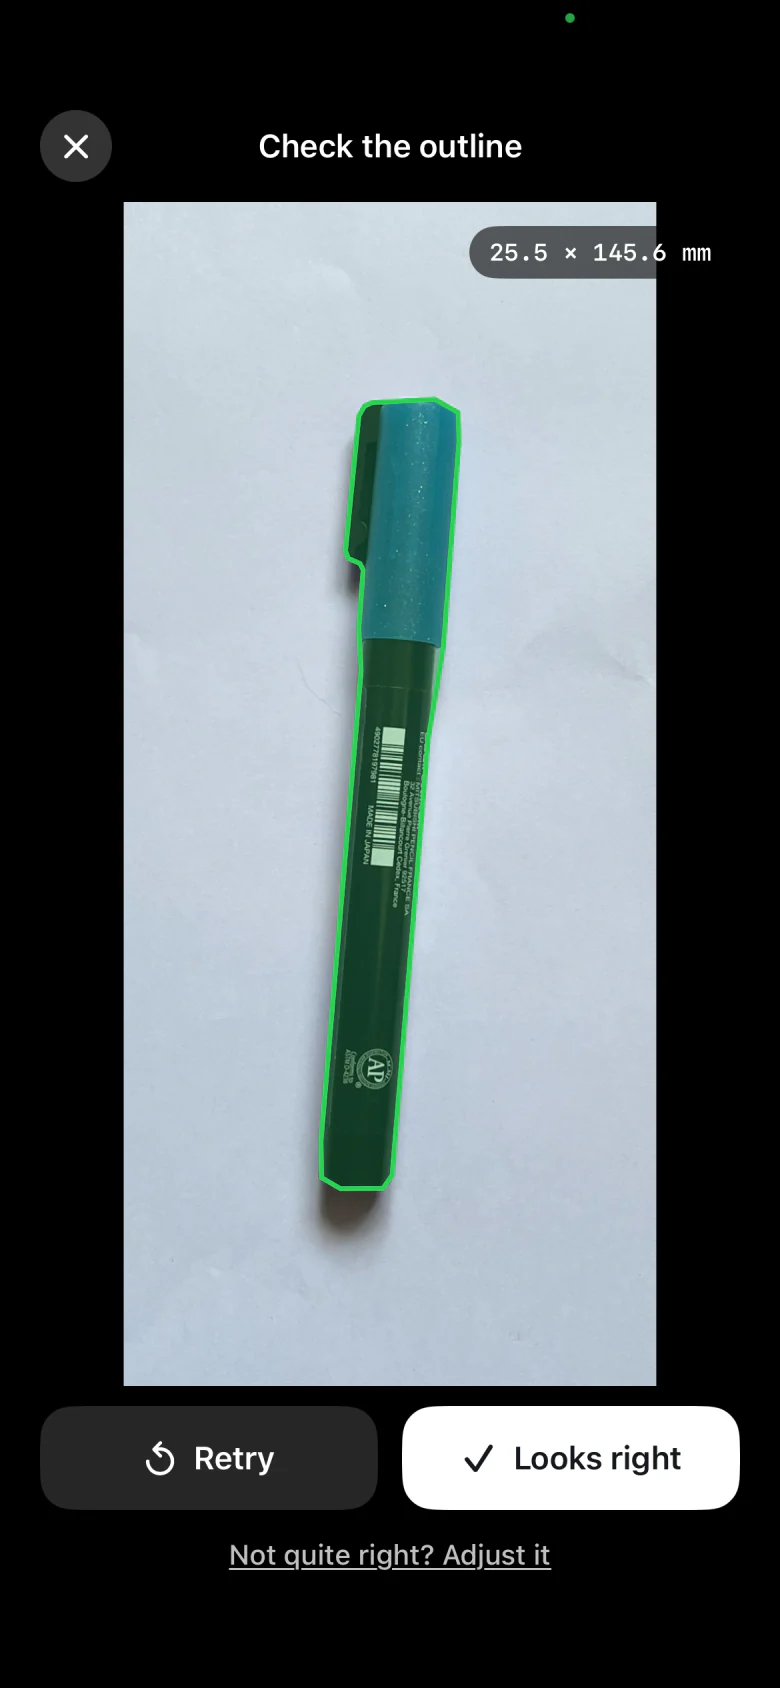
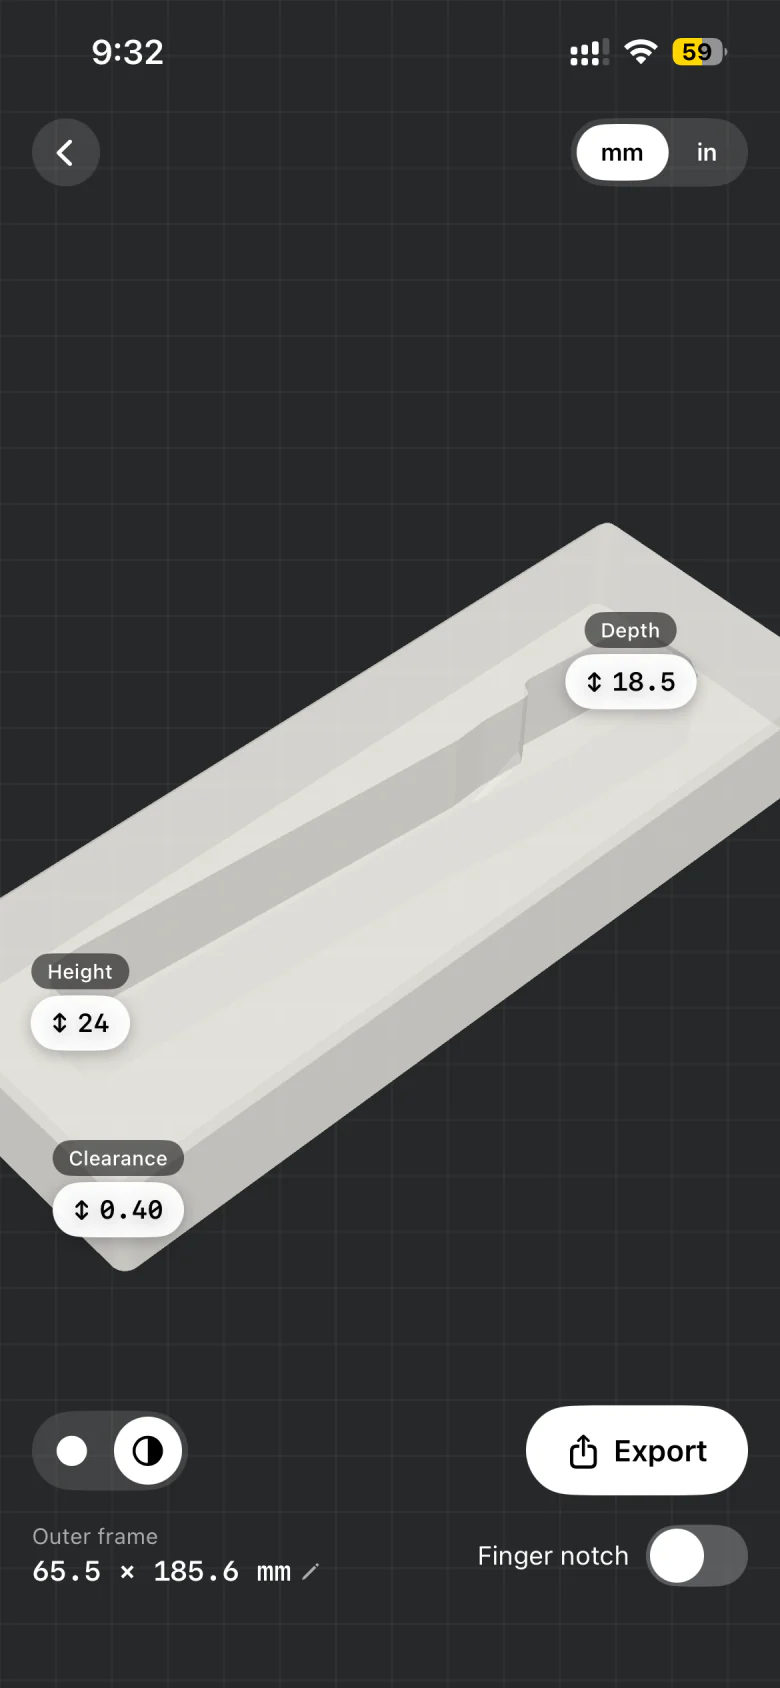
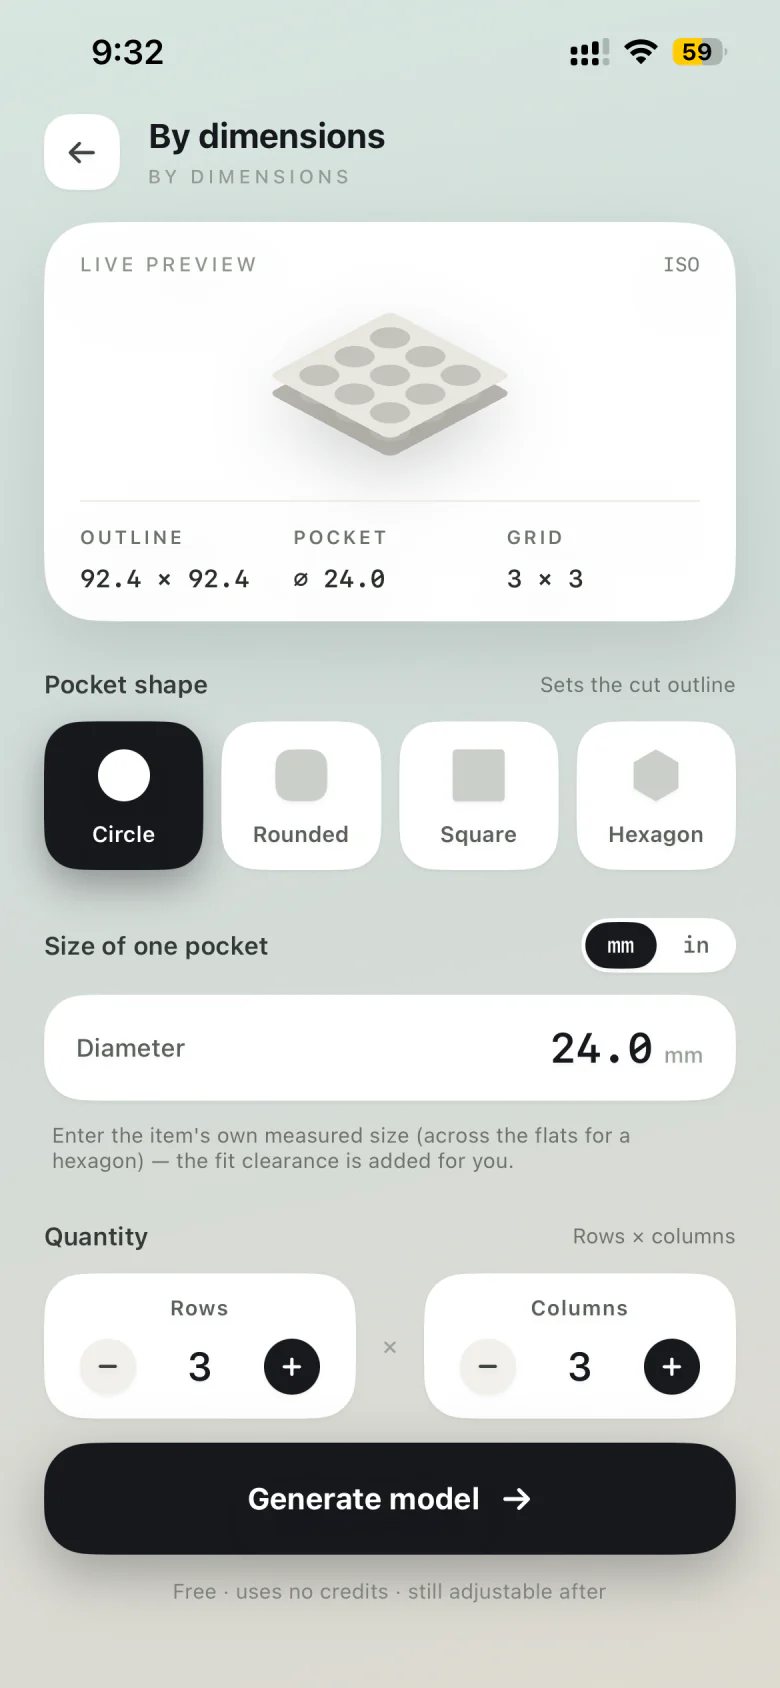
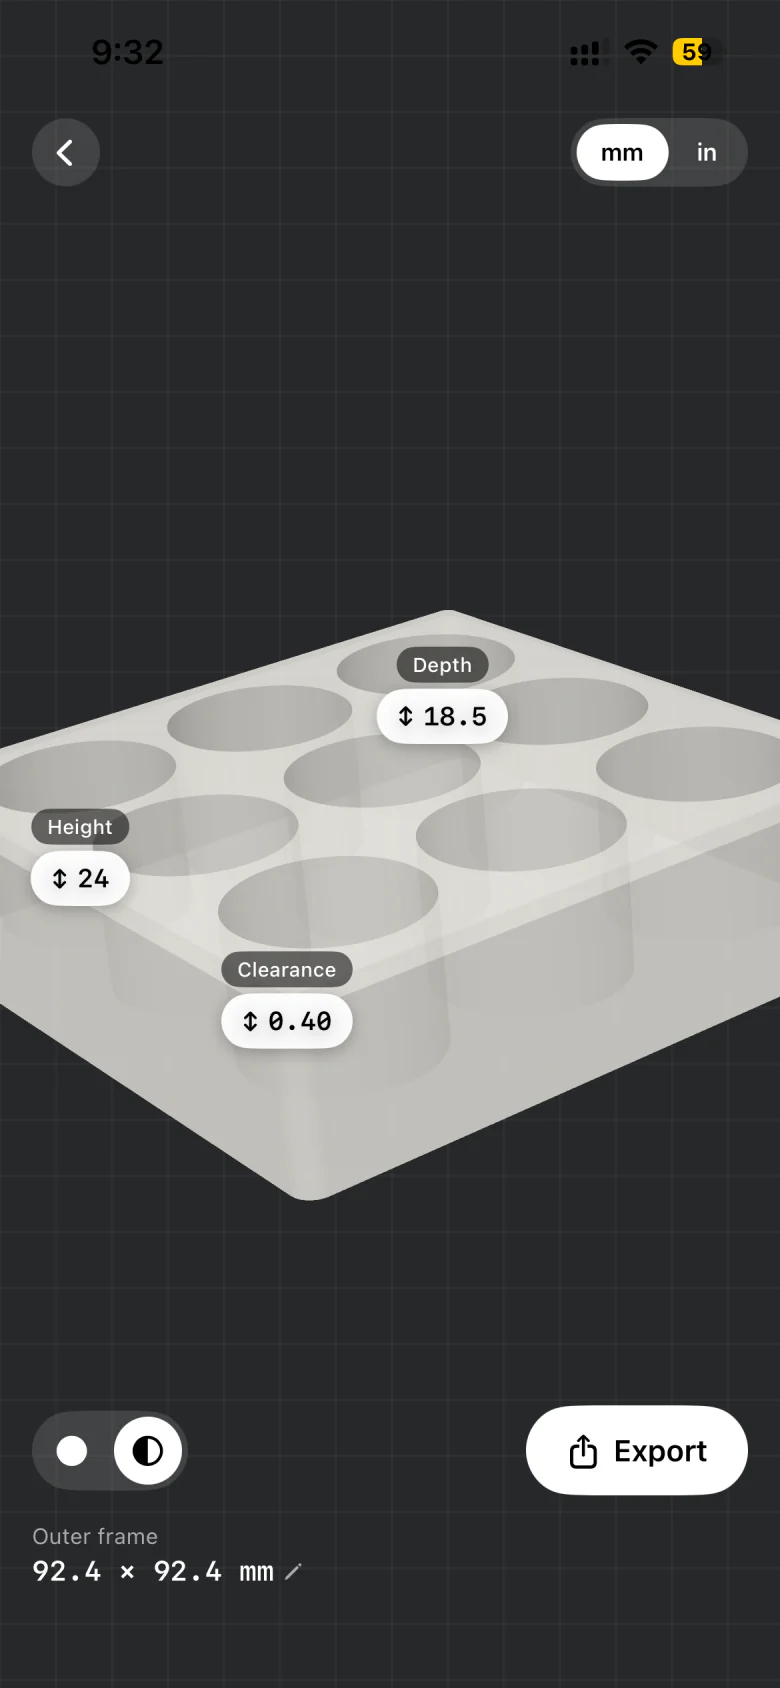
Tucked home screen with New scan and By dimensions Checking the traced outline of a pen 3D preview of the pen tray with depth and clearance Making a tray by dimensions with a 3 by 3 grid of pockets 3D preview of a grid tray ready to export

Live 3D · Drawer

Before, after, and nothing rattling.

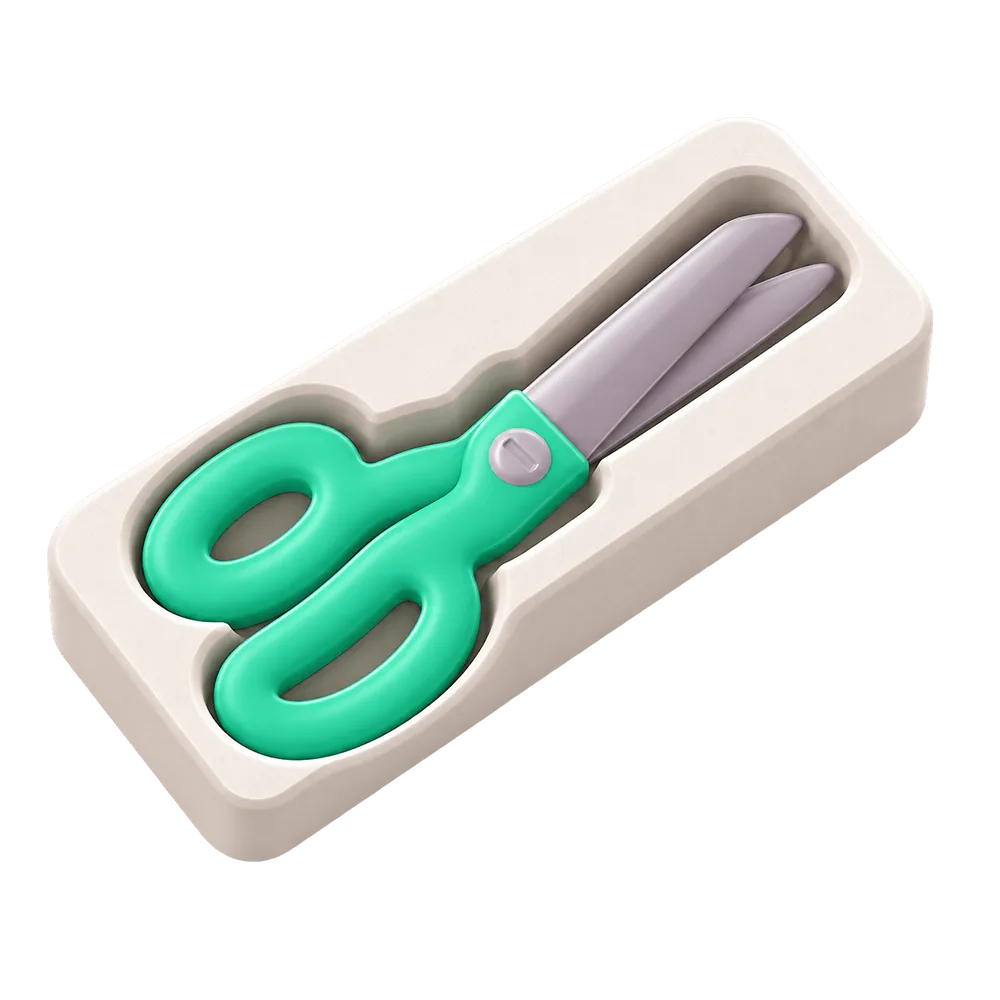
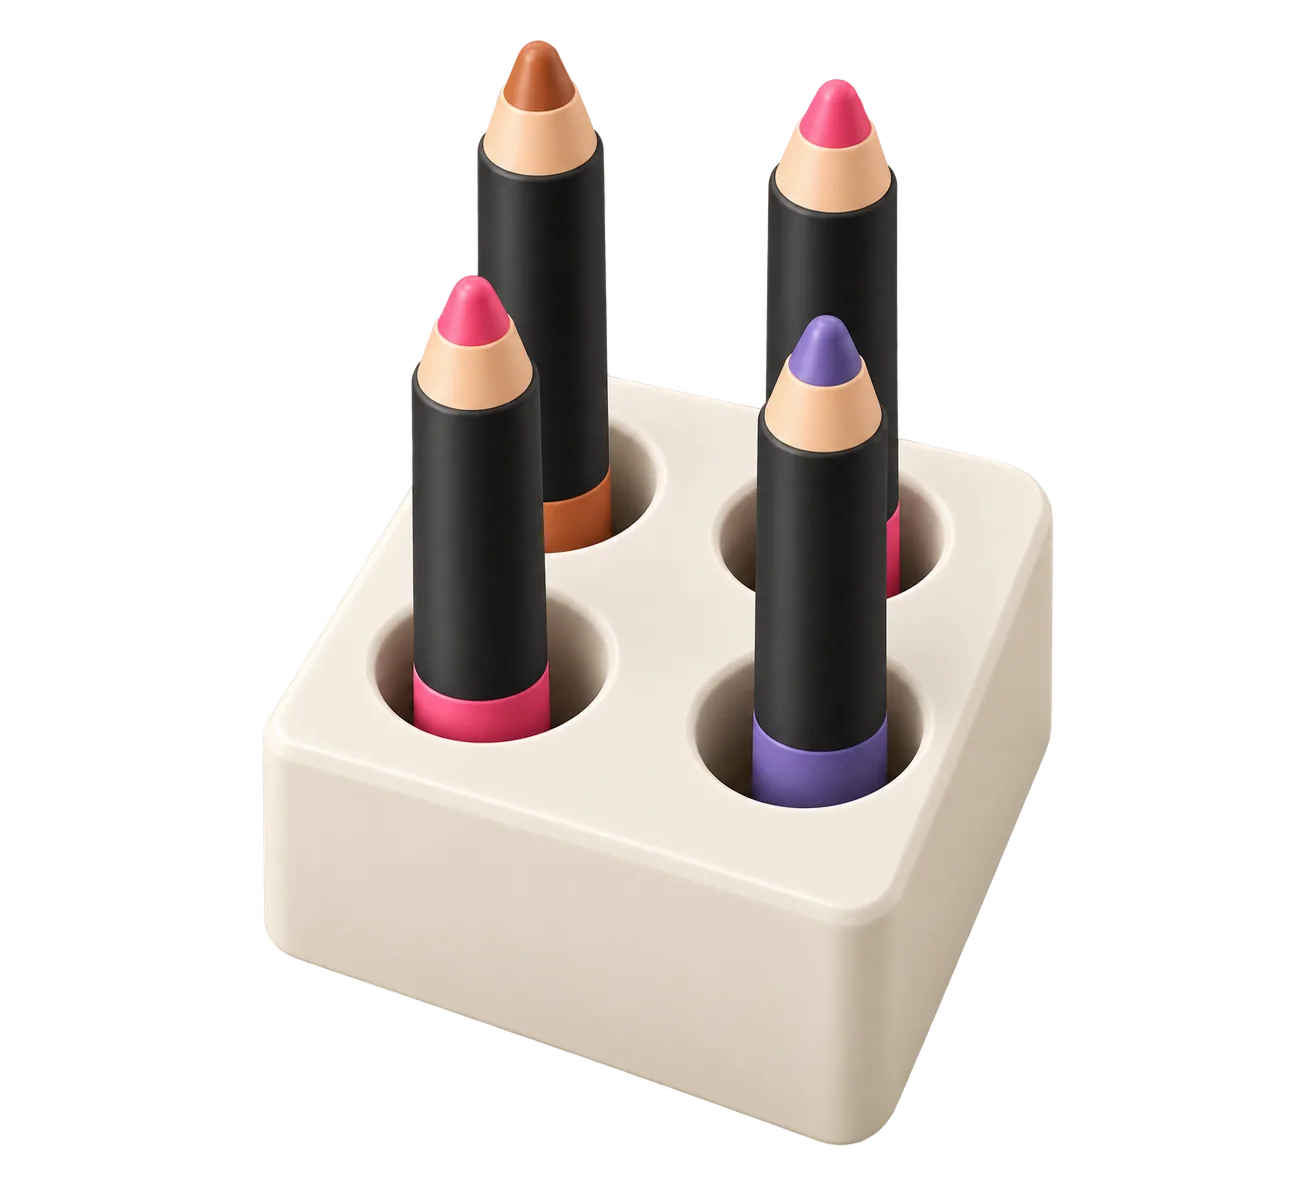
Each item gets its own tray, sized so the trays tile the drawer edge to edge. Identical things, like batteries or pencils, share a grid made by dimensions.

Drawer · 400 × 300 mm

How it works

Organize a drawer in three steps.

Measure the drawer once. Everything else comes from photos.

  1. 25.5 × 145.6 mm
    01

    Snap each item

    One photo per item on A4 or Letter paper, shot from straight above.

  2. Depth ↕ 18.5 Clearance ↔ 0.40
    02

    Size it to the drawer

    Set each tray’s outer dimensions so the trays tile the drawer, then choose pocket depth and clearance.

  3. pen-tray.stl 65.5 × 185.6 × 24 mm Export ✓ Printed
    03

    Export and print

    Export each tray as STL and print them in batches that fit your build plate.

Guide

Why a custom drawer organizer beats a generic one.

Store-bought inserts are built for an average drawer, and nobody owns an average drawer.

Generic inserts waste the drawer

Off-the-shelf organizers come in a handful of sizes with rectangular compartments. Things slide around inside them, and the gap left at the edge of the drawer becomes the new junk pile, and the compartments rarely match what you actually store. A 3D-printed drawer organizer can use every millimetre, because you decide the size of every tray.

Measure the drawer, then the things

Measure the inside width, depth and usable height of the drawer, leaving room for the drawer above. Sketch a rough layout on paper: big, everyday items at the front, rarely used ones at the back. Then set each tray’s outer dimensions in Tucked so its slot is filled. Take a millimetre or two off each side so the trays drop in and lift out easily.

A pocket for every thing

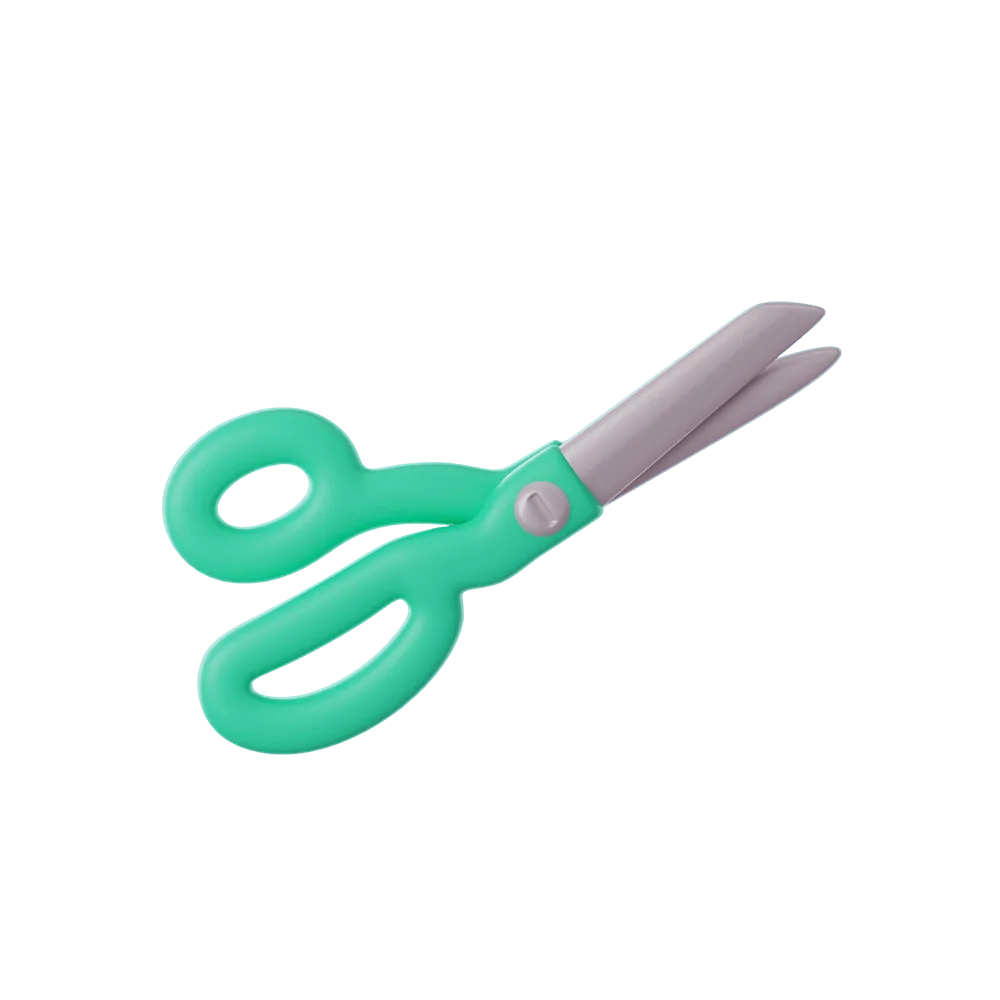
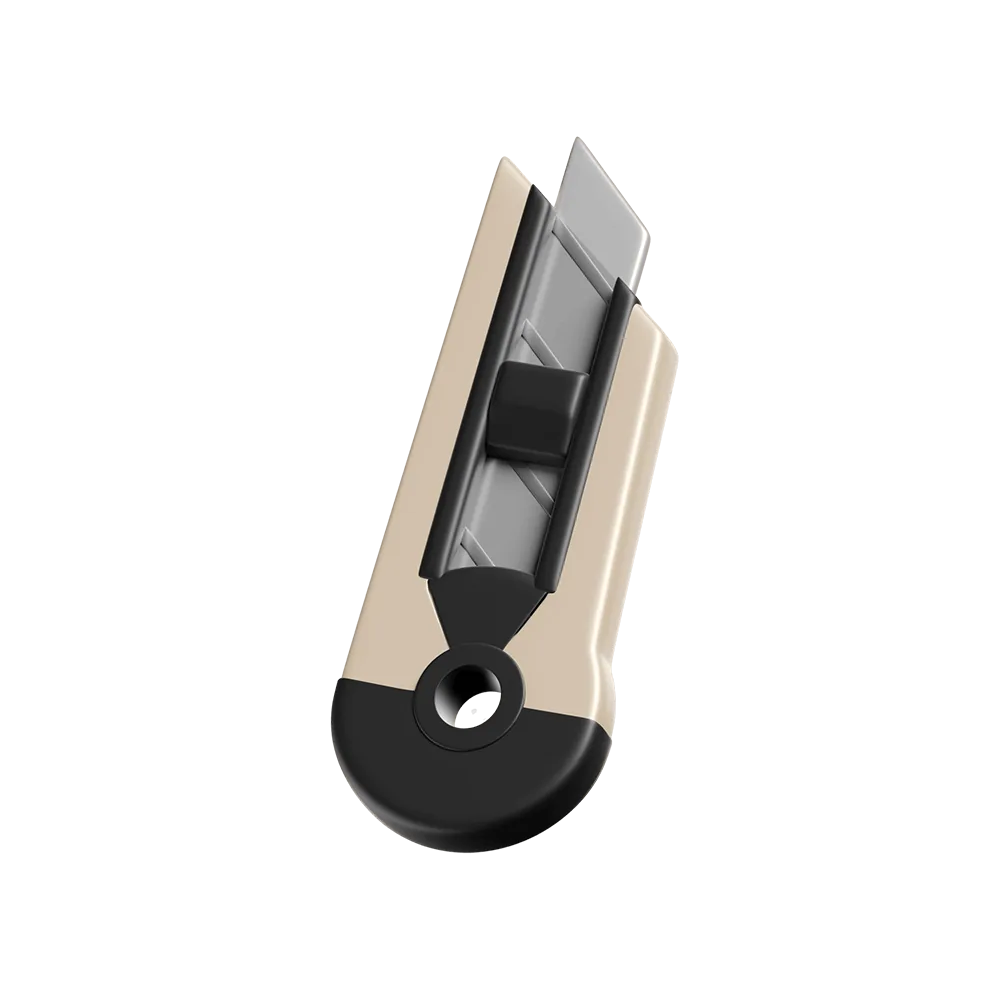
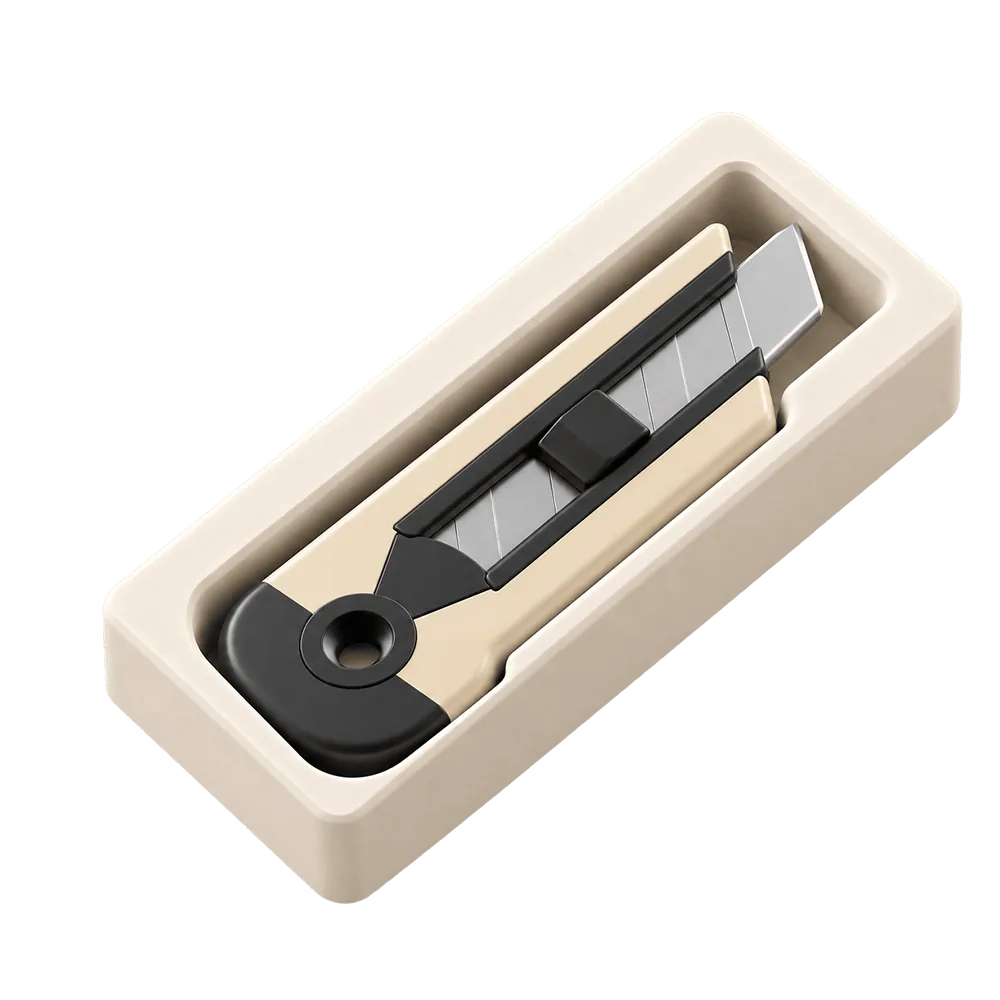
Photograph each item on a sheet of A4 or Letter paper, and Tucked cuts a pocket that follows its outline. Things stop sliding, the drawer closes quietly, and an empty pocket shows straight away what wasn’t put back. Add a finger notch for flat items like rulers and cutters. For rows of identical items — batteries, pencils, spice jars — make a tray by dimensions instead: set pocket shape, size, rows and columns, no photo needed.

Print-friendly by default

Trays are flat-bottomed, so they print without supports. Keep each tray within your build plate and print a test tray before committing the whole drawer. PLA is fine for desk and kitchen drawers; PETG copes better with heat, like a garage in summer.
Where it fits

Every drawer has its regulars.

The same idea works anywhere small things pile up.

Desk drawer

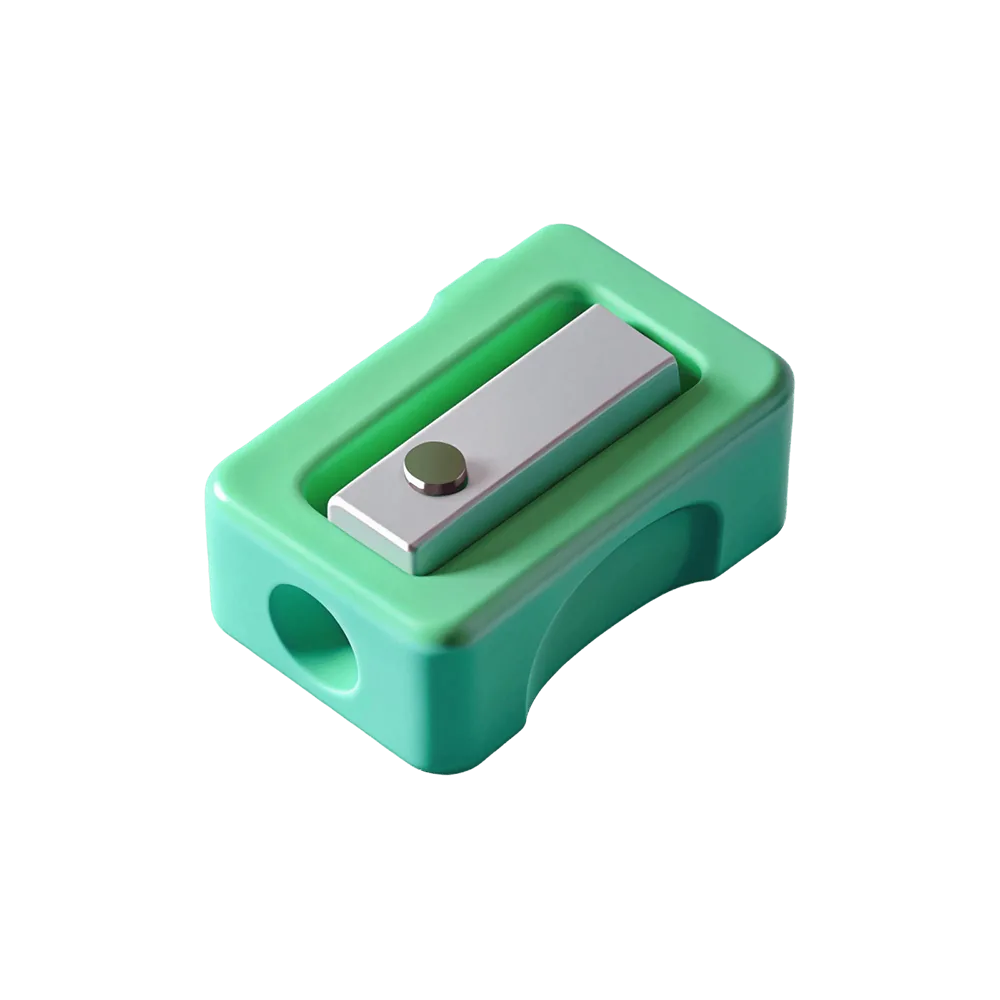
Pencils, sharpener, scissors and tape, each in its own place.

Kitchen drawer

Scissors, peelers and the corkscrew that is never where you left it.

Medicine cabinet

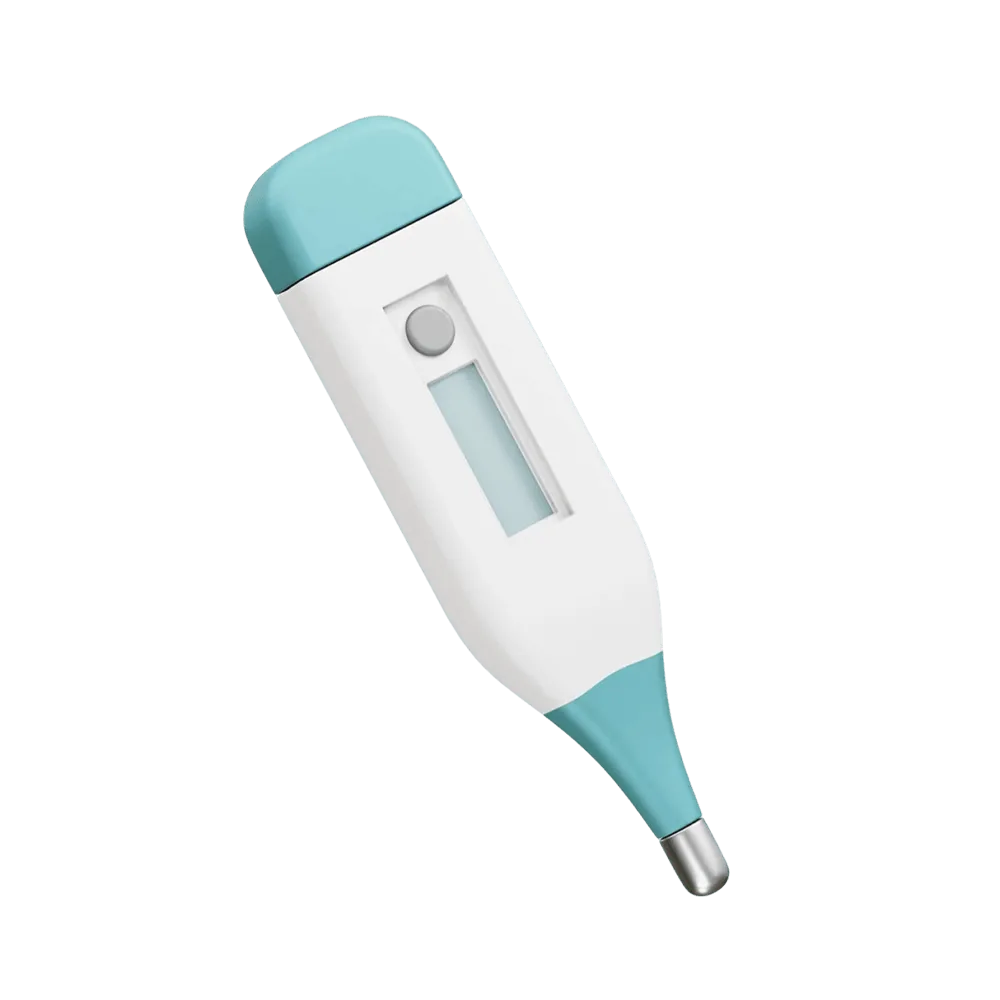
Thermometer, pill cutter and tweezers, easy to find at 3 a.m.

Workbench

Cutters, bits and gauges that used to share a coffee tin.

More with Tucked

Other things worth tucking away.

Make your first tray free.

Free to download. Your first five photo models are on us, and trays made by dimensions are always free.

Download on theApp Store